Making Attic Access Easier: What to Know Before Installing a New Ladder
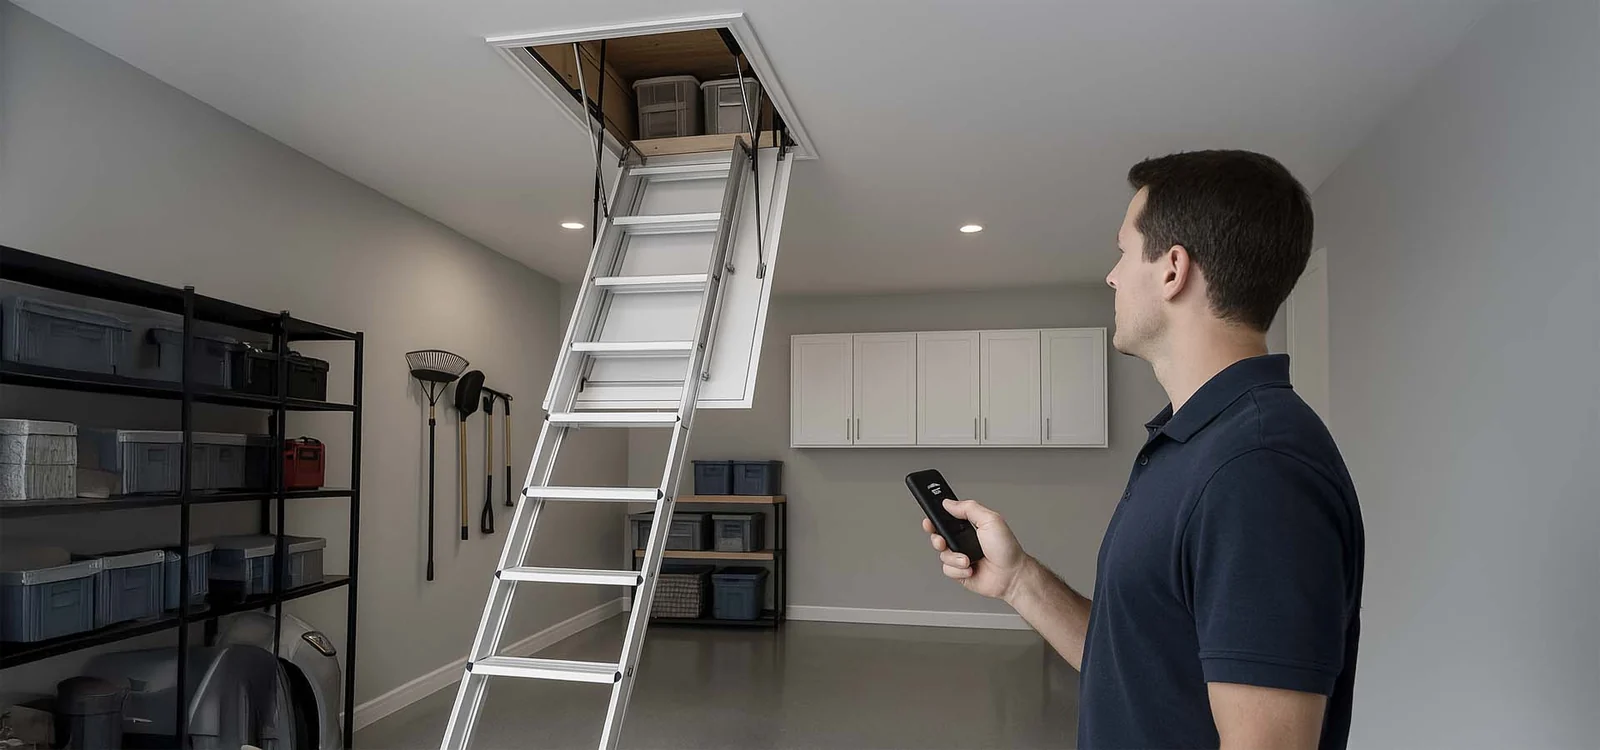
An attic can be one of those spaces in a house that exists mostly in theory. You know it’s there. You know the holiday decorations, old suitcases, and boxes of things you probably don’t need are sitting somewhere above your head. But getting into it is another matter.
If access means balancing on a chair, dragging out an extension ladder, or asking someone else to hold it steady, the attic probably isn’t being used as effectively as it could be. A properly installed folding or telescoping ladder can change that. Suddenly, storage isn’t an awkward chore anymore. It becomes a normal part of the house.
Still, attic ladder installation isn’t quite as simple as buying a ladder and attaching it to the ceiling. There are measurements, structural considerations, clearance requirements, and safety details that deserve attention.
Start by Looking at the Space
Before choosing a ladder, take a look at the attic opening and the room underneath it. The available space matters just as much as the ladder itself.
Measure the ceiling height from the finished floor to the attic floor. Then consider the length and width of the existing opening, if there is one. You’ll also need to know how much floor space is available for the ladder when it is fully extended.
This last point is easy to overlook. A ladder might fit perfectly in the ceiling but extend into a hallway or room in a way that blocks a doorway or creates a trip hazard.
For homeowners planning dallas attiac ladder installation, careful measuring is particularly important when working with existing homes where framing, ceiling heights, and layouts can vary considerably.
Choose the Ladder Based on How You’ll Use It
Not every attic needs the same kind of access.
A lightweight aluminum ladder may be ideal if you only visit the attic a few times each year. Wooden folding ladders can offer a traditional appearance and sturdy feel. Telescoping models can work well when floor space is limited.
There are also ladders with insulated hatches designed to reduce air movement between the living area and attic. If the attic is properly insulated, the access panel shouldn’t undermine that work.
Think about frequency of use, too. Someone who stores seasonal decorations and rarely goes upstairs may have different priorities from a homeowner who uses the attic for equipment, storage, or a partially finished living area.
Professional Installation Can Prevent Common Problems
Attic ladder projects can look deceptively simple online. There are plenty of videos showing someone cutting an opening, fitting a frame, and unfolding the ladder.
The trouble is that a ceiling isn’t just a piece of drywall. Behind it are framing members, insulation, wiring, ductwork, and sometimes plumbing.
Experienced attic lander installers know that the job starts with understanding what’s above and around the proposed opening. Cutting in the wrong location can create unnecessary complications or damage hidden components.
The installation also needs to leave the ladder properly supported. A frame that isn’t secure can shift over time, making the ladder difficult or unsafe to use.
Don’t Ignore Structural Framing
One of the biggest considerations is the ceiling structure.
Attic openings often need to fit between joists, but that isn’t always possible without modification. In some situations, framing may need to be reinforced or altered to accommodate the opening safely.
This is where professional judgment matters. The goal isn’t simply to make a hole large enough for the ladder. The surrounding structure must remain properly supported.
If you’re unsure about the framing, this isn’t a good place to guess. A small mistake above a ceiling can create a much bigger repair later.
Clearance Matters More Than You Think
Imagine opening your attic hatch and discovering that the ladder lands directly in front of a closet. Or perhaps it extends into the path of an interior door.
These problems can make an otherwise good installation frustrating to use.
Check the ladder’s operating arc and the amount of floor space required. Some models unfold outward, while telescoping ladders descend more vertically. The type of ladder should suit the room rather than forcing the room to accommodate a poor installation.
Lighting should also be considered. If the attic opening is located in a dim hallway, adding a light nearby can make climbing safer, especially when carrying boxes.
Insulation and Air Sealing Deserve Attention
An attic hatch can become a weak point in a home’s thermal envelope. If it isn’t sealed properly, heated or cooled air can escape into the attic.
That can contribute to uncomfortable rooms and higher energy use.
When installing a new ladder, consider the hatch itself as part of the project. An insulated panel, weatherstripping, and a tight-fitting frame can help reduce unwanted air leakage.
It’s a small detail, but small details matter. There’s not much point in having excellent attic insulation if warm air can freely move around the access panel.
Safety Should Come Before Appearance
A good attic ladder should feel stable when you step onto it. The steps should provide enough room for secure footing, and the ladder should lock firmly into position.
Handrails can be helpful, particularly for people who frequently carry storage containers or equipment. The ladder should also have a weight rating that suits the people and items expected to use it.
Don’t use an attic ladder as a substitute for a full staircase if the space is going to become a regular living area. Folding ladders are primarily designed for attic access, not as everyday stairs.
When a Handyman Is the Right Choice
For straightforward home improvement work, a handy man with experience in attic access projects may be able to handle the installation. The important word is experience.
This isn’t simply a matter of attaching hardware. The person doing the work should understand ceiling framing, safe access, ladder specifications, insulation, and basic finish work around the opening.
Ask what the installation involves before work begins. A professional should be able to explain how they’ll handle the opening, framing, ladder adjustment, and final trim.
Clear communication upfront is often a good sign that the project is being approached carefully.
Think About the Finished Look
Function comes first, but appearance still matters.
A poorly finished attic opening can leave rough drywall edges, uneven trim, or visible gaps around the frame. Since the ladder is installed in a finished room, those details can stand out.
Proper trim and finishing can make the installation look like part of the original home rather than an afterthought.
Matching the surrounding paint and keeping the hatch flush where appropriate can also give the area a cleaner appearance.
Keep the Ladder Maintained
Once the ladder is installed, don’t forget about it.
Every so often, inspect the hinges, springs, bolts, brackets, and steps. Look for loose hardware, unusual movement, cracks, or anything that feels different from normal.
Don’t overload the ladder. Avoid using damaged components, and follow the manufacturer’s instructions for lubrication or adjustment.
A few minutes of inspection now and then can help identify wear before it becomes a safety problem.
A Small Project With a Useful Payoff
Attic access isn’t usually the first thing homeowners think about when planning improvements, but it’s one of those upgrades that can quietly make daily life easier.
A properly selected and installed ladder eliminates the awkwardness of reaching the attic and can make valuable storage space much more accessible. The key is to treat the project as more than a simple hardware installation.
Measure carefully. Check the framing. Consider clearance and insulation. Choose equipment that matches the way you actually use the attic, and don’t cut corners on safety.
The best attic ladder is the one you can open confidently, climb comfortably, and put away without thinking twice. When it works that naturally, you’ll wonder why you waited so long to fix the problem in the first place.